Nearly New Years and I am finally writing another blog post! Shortly after the eclipse which was the subject of my last post, Tucson hosted the 3rd annual Arizona Science and Astronomy Expo (ASAE). You can read a
report on this annual show on the blog of my friend Dean Ketelsen. At the show I ran into another friend, Kevin Legore, who works for Sky-Watcher USA and Kevin showed me a new product that they were carrying called the "Star Adventurer," which is essentially a mini-equatorial mount and wedge designed for use on a photo tripod and with a DSLR. Kevin noted that they would not be able to ship until the end of November so as soon as I got home from the show I went on their webpage and ordered a Star Adventurer knowing I had about a month to save the money.
I have enjoyed taking wide-field images of the milky way with my camera and have even made a few attempts at
time-lapse photography such as from the Grand Canyon this summer. Naturally, I have been limited to exposures in the range of 20-25 seconds before stars would start to trail. This is less of an issue from my home due to light pollution, however, from Mount Lemmon or other dark sites such as Portal I would enjoy taking longer exposures. One common way to track stars and take long exposures is to piggy back one's camera on a telescope, however, that has two disadvantages for me. One is that it requires far more set up and gear than a simple camera tripod, and two, it means that I can not observe an astronomical target through the telescope if my priority is framing a milky way image.

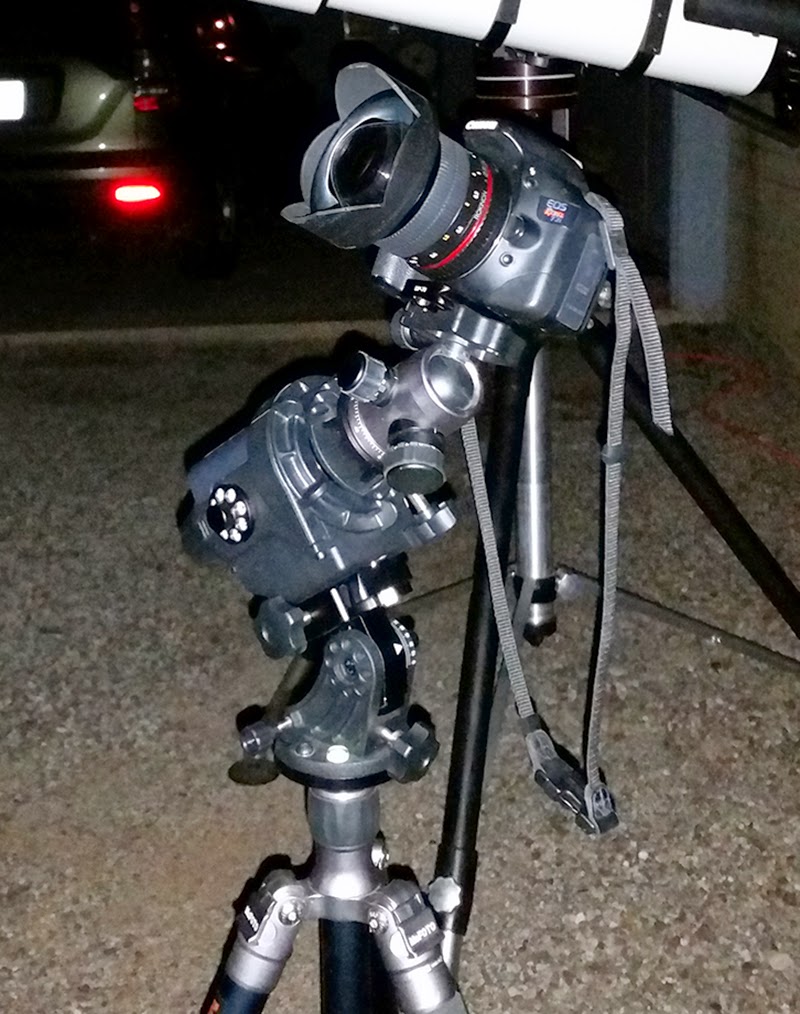
Right on cue at the end of November, I received an email indicating that my credit card was being charged and that the Star Adventurer was being sent on its way. Due to busy work schedules, poor weather, and a home renovation project (now complete) I was not able (or motivated) to test the Star Adventurer until last night. It is not my intention to write a thorough review of the mount, nor could I after only one night of use. Just like any other piece of equipment it takes some time and practice to learn the finer points of alignment and use. As you will see below the Star Adventurer works as advertised. Running on 4 AA batteries (it can also be powered by USB) it tracks the apparent motion of the sky at one of several user-selected speeds. I only used the stellar setting in my attempts last night. In addition, I did not calibrate the included polar scope to the mount (meaning it could be slightly misaligned), and I only performed a rough polar alignment placing Polaris about where it ought to be in the scopes reticle. My main objective was simply to see if the unit worked as I was a fairly early adopter. Good enough for government work anyway!
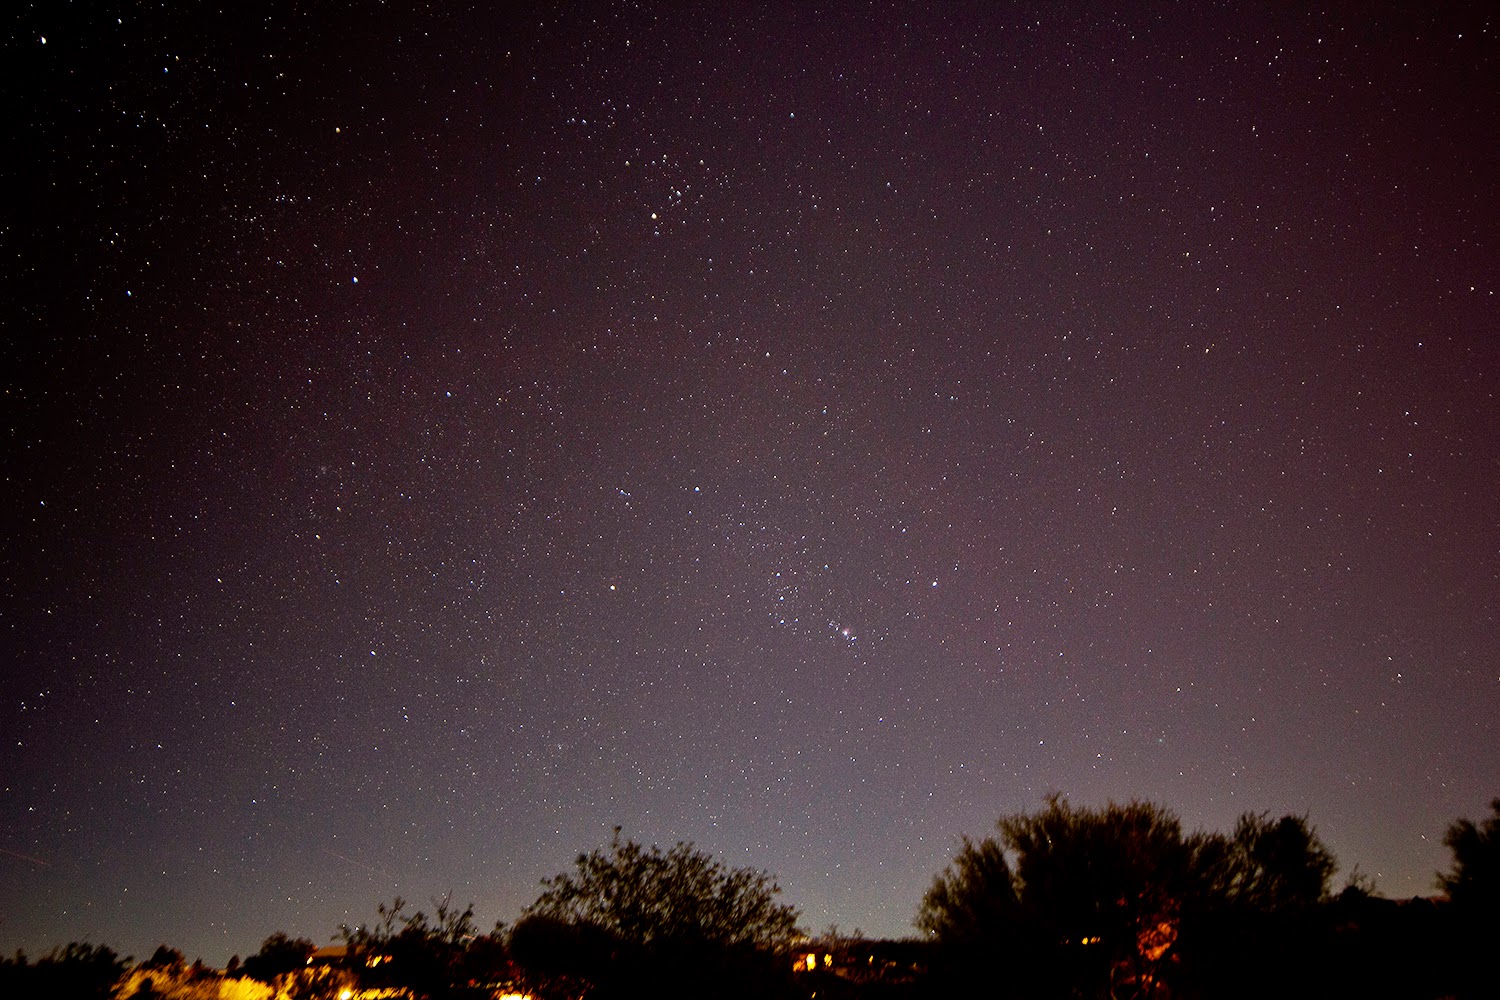
My first target, as it should be this time of year, was the constellation of Orion. The camera attaches to the Star Adventurer with a user supplied ball-head and the first lesson I learned was that everything needs to be tightened down securely! Not just to prevent a major disaster, but also to prevent the camera from slowly slipping/rotating during the exposure. Once I had everything snug, I took the picture below with a 14mm f/2.8 Rokinon manual lens at ISO 800 for 30 seconds. Click to enlarge (and ignore the lens flare at lower left from a neighbors security light!).
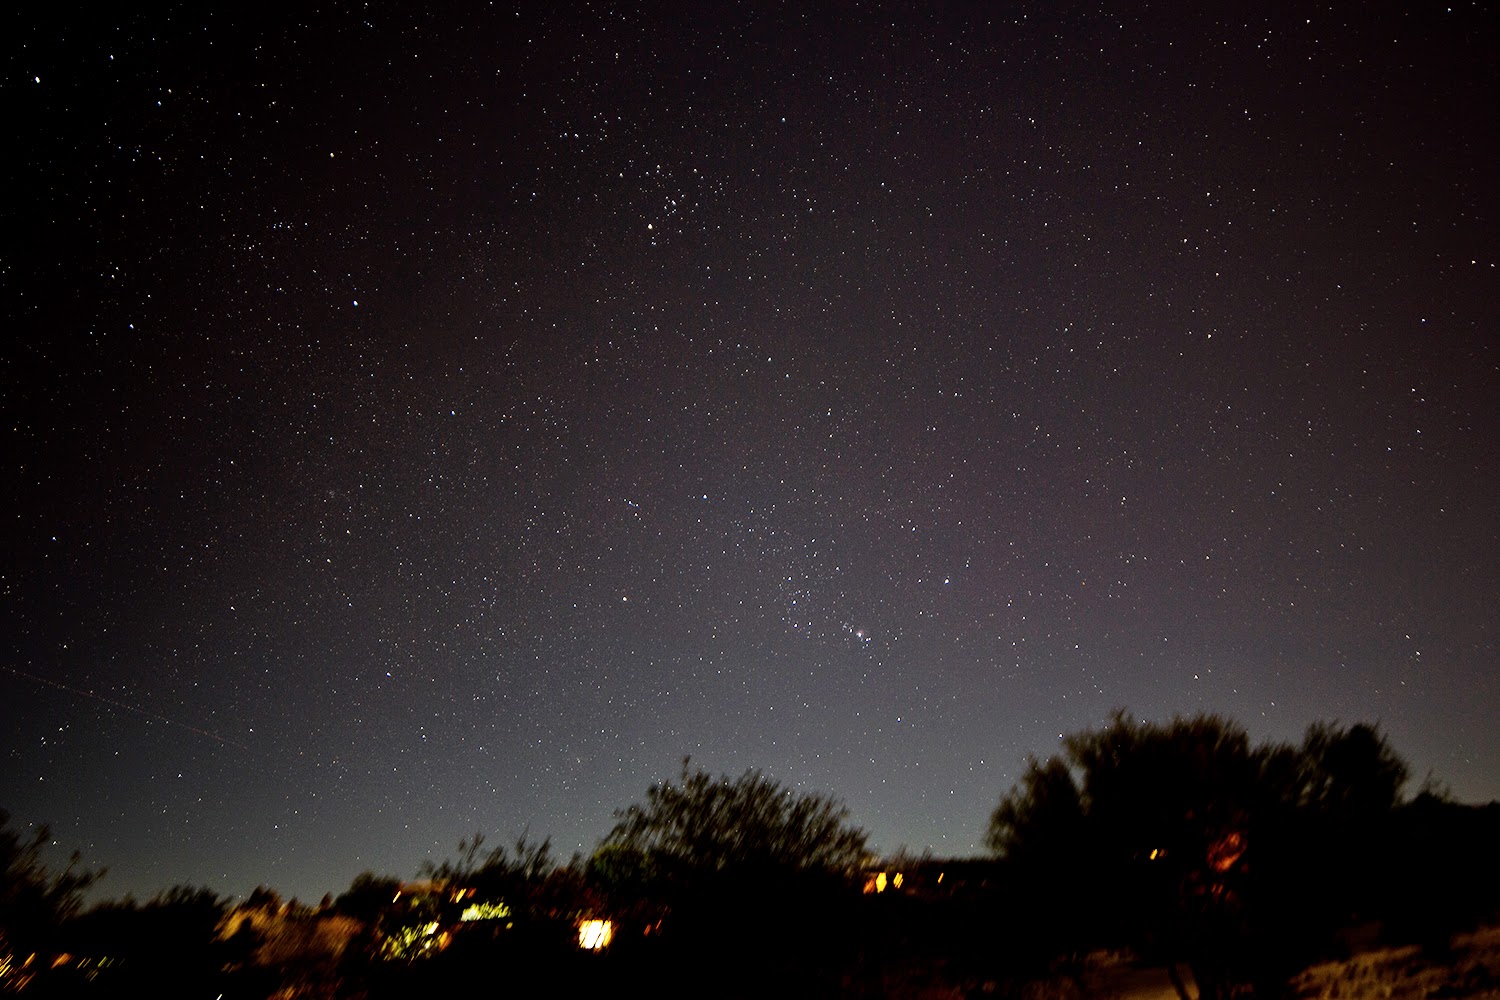
As the sensor was exposing, I remembered that Comet Lovejoy (C/2014 Q2) was moving up through Lepus and toward Orion. I grabbed my binoculars, found the comet easily and noted its location. I then zoomed in on the image I had just taken and BAM! there was the comet! Below is the same image and you will see at lower right that Comet Lovejoy is labelled.
I then decided to see how the Star Adventurer would handle a heavier load and installed my Canon 70-200 f/4 zoom in place of the smaller Rokinon to image the comet. Below is am image of the comet.
Recent images of this comet have shown that its tail has been having a very interesting past few weeks, separating from the comet with a new tail growing in place of the previous-
this article from Universe Today explain matters. I took another exposure with the ISO too high (3200) to see if I could detect any tail structure...sure enough I thought I could see hints of one, so I inverted the image, stretched things a little and sure enough, you can see a thin tail stretching to the NE in the image!
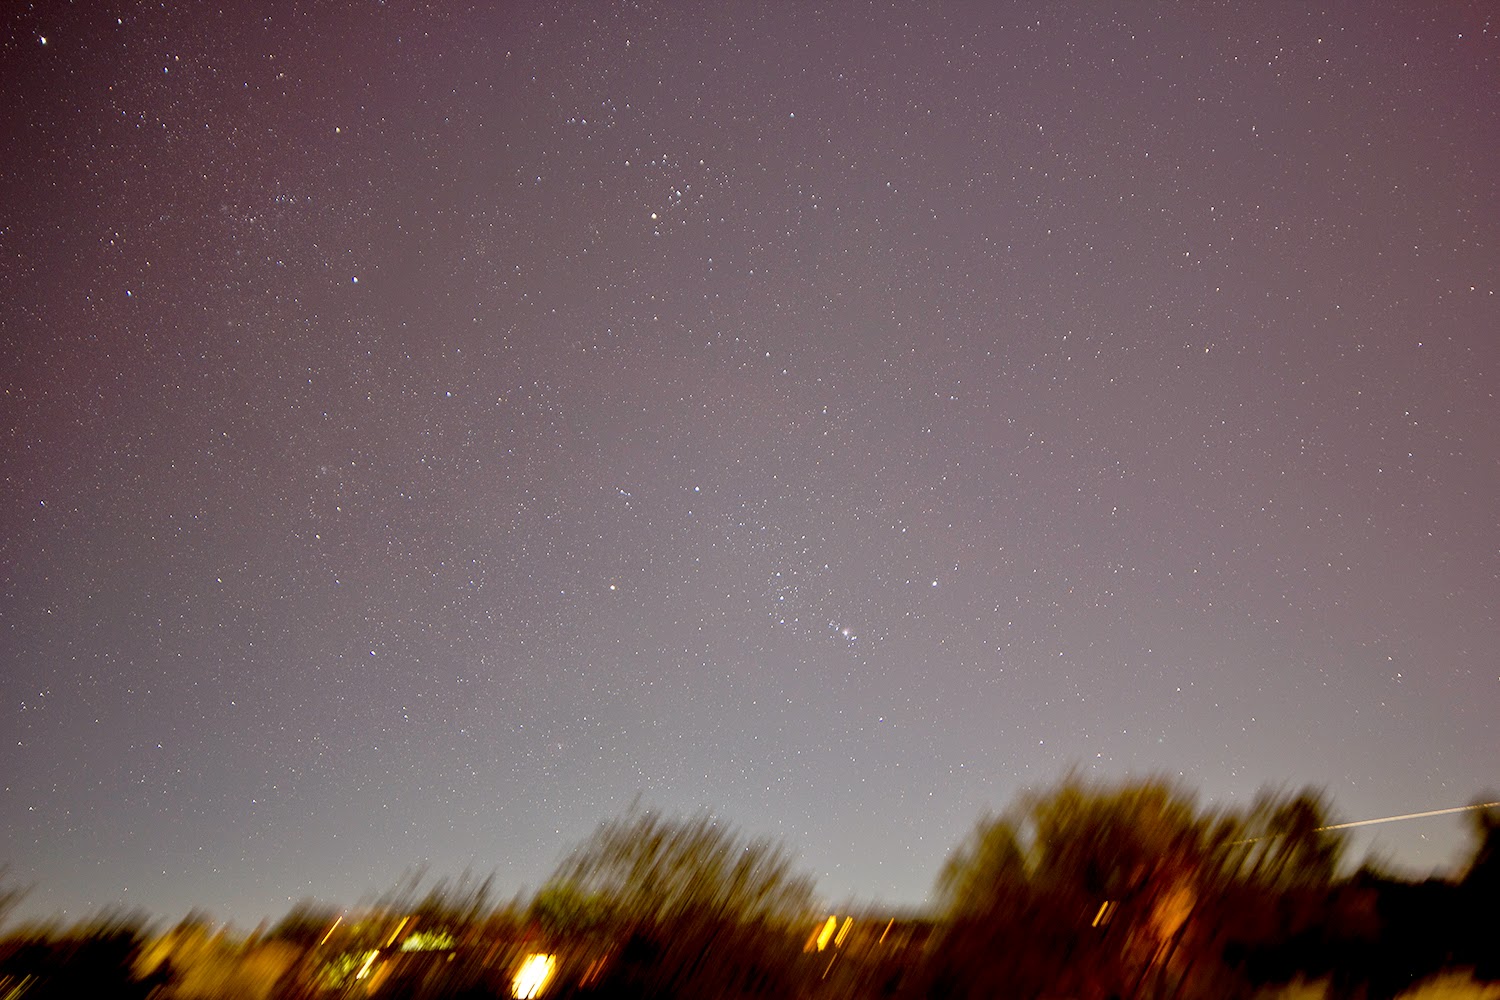
Finally, as long as I had the the heavy lens out I centered the Orion Nebula and took a 30 second image of that region, and below is the result.
All in all, pretty impressive results for night one, and remember that all the above are single shots, no stacking of images. Taking images with heavy lenses will likely require the optional counterweight kit that Sky-Watcher sells as it did seem that the mount would struggle at certain orientations. Also, while I stuck to 30 second exposures last night just to make sure the mount worked (I have it on some authority I ordered the first one in the US!), a more critical polar alignment is needed for me to take long exposures.
 After my first successful night using the Star Adventurer mount (detailed here), I wanted to do a more thorough job of learning the ins and outs of the mount and seeing if I could truly take some long exposure images. The first thing I did was to check during the day to see if the polar alignment scope was calibrated to the mount itself. This is done simply by placing a distant object on the cross-hairs of the polar scope and then rotating the mount in right ascension. If the object drifts off the cross-hairs then the polar scope is not centered precisely in the mount housing. To my delight, the polar scope appeared nearly perfectly calibrated! There may have been a very slight drift, yet it was so small I felt that I would not be able to make a meaningful improvement using the set-screw adjustments, and in fact I was not totally sure that I was not causing the apparent drift simply by having to move the mount manually. Yet, sometimes I can obsess (the only enemy of good is better!), so to test this I turned the mount on and set it for 12x sidereal rate and let it track for about 10 minutes. This would represent 180 degrees of rotation if I let it go for an hour, so in 10 minutes I had about 18 degrees of rotation and there was no appreciable drift. This is certainly longer than any exposure I see myself doing in the near term as 18 degrees of apparent motion equates to 72 minutes of real time!
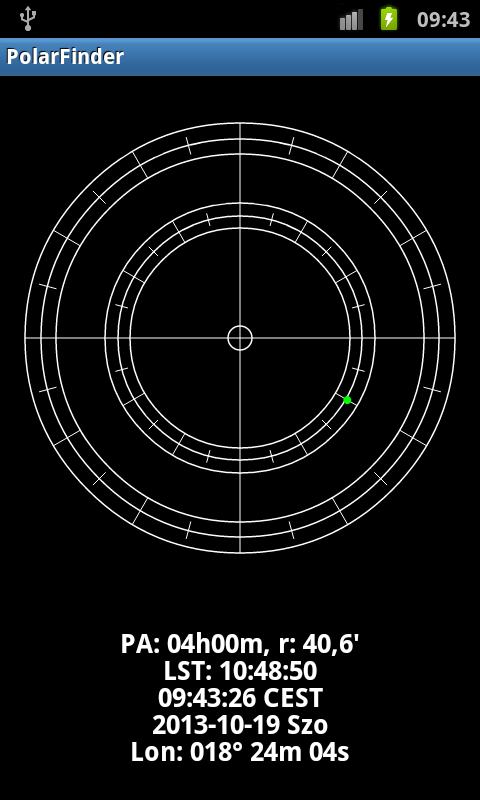 Historically, when I have done a rough polar alignment I have started by pointing about a half degree from Polaris towards the 'bright' star Kochab, as this is approximately the location of the north celestial pole. I wanted to do a fairly precise alignment (short of drifting) and grabbed my phone to look up the location of the pole for the current time...in doing so I wondered if there was an application for my Android that might tell me and sure enough I found a great little application called "Polar Finder" which uses GPS for my time and location and then with the reticle of my choosing shows me where Polaris should be placed in the polar alignment scope. At right is a generic screenshot from the application which shows a basic reticle (there are patterns for most well known polar scope makers) and Polaris as a green dot.